
Running an event: attendees, badges and lead capture
Set up an event, upload your attendee list, hand out QR badges, invite exhibitors, and collect leads at the booth.
Event lead capture turns your exhibitors into badge scanners. You upload the people attending, Survtapp issues each of them a QR badge, and exhibitors scan those badges at their booth to capture a lead — with a rating and a note — whether or not there is a signal in the hall.
The three steps
The quickest way through is the guided flow: go to Forms, then New Form, and choose the event option. It walks you through creating the event, adding attendees and downloading badges. Everything it does is also available directly under Event Leads, then Events.
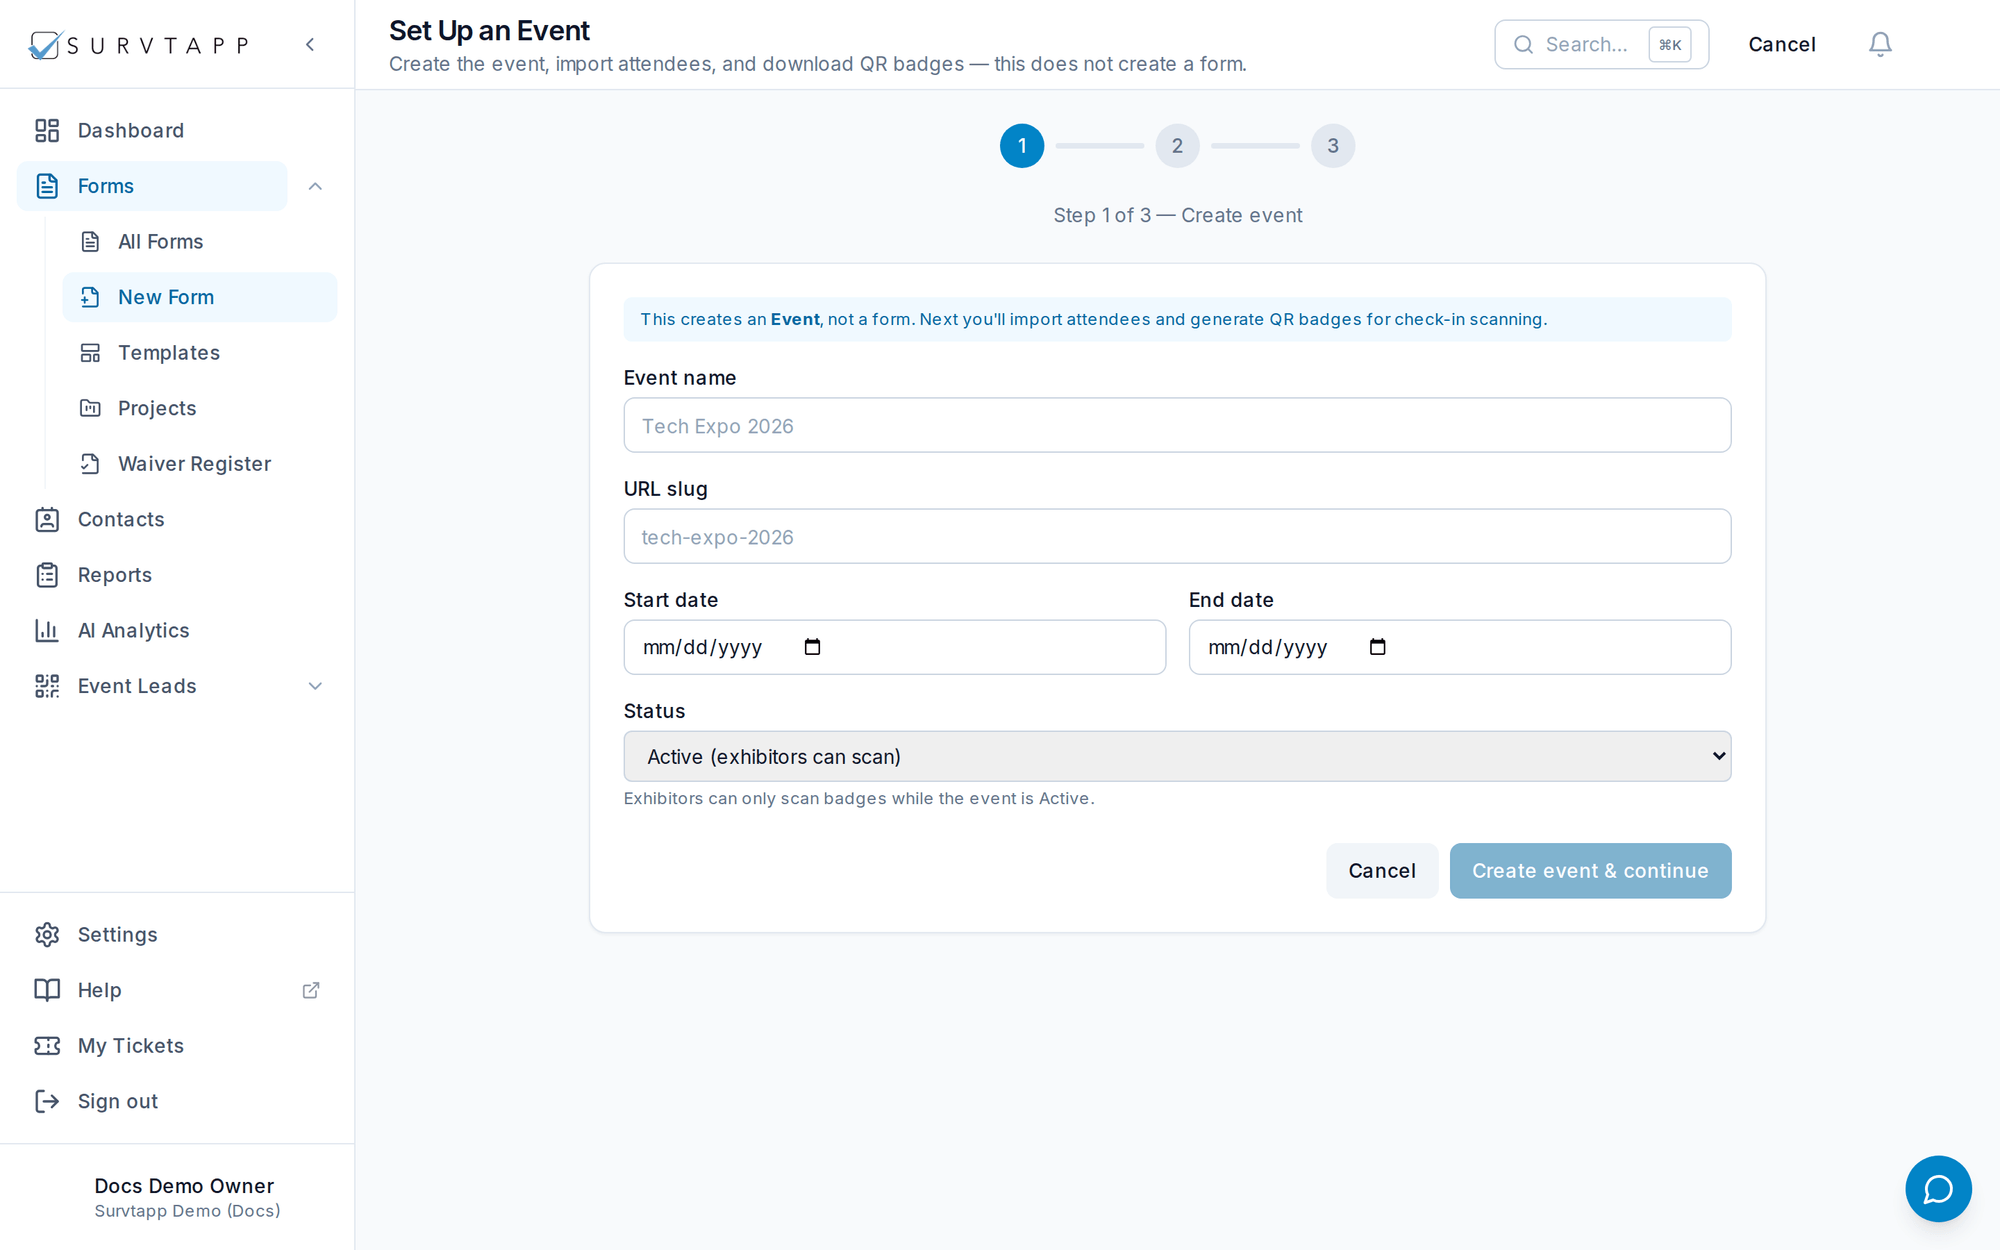
1. Create the event
- Name the event.
- Set its start and end dates.
- Set its status.
Give the event real start and end dates. They are what lets a lead scanned at five in the afternoon and synced at nine that evening be accepted as genuine — without them there is no window to check a late-arriving scan against, and the lead is held instead.
Set the event to Active before the doors open
This is the one that catches people out. Every scan is refused unless the event is Active. An event left in Draft produces a badge that will not scan, and the exhibitor simply sees that the badge is not recognised — which reads as a broken badge rather than a setting. Change the status on the event and check it before the show.
2. Add your attendees
Open the event and use the Attendees tab. Click Download CSV template for a correctly-shaped file. Its columns are: name, email, company, phone, title, city, state, country, postal/zip, industry, sub-industry. Then use Upload attendees CSV. You can also add or edit people one at a time, and search the list by name, email or company.
3. Download the badges
Download all badges (ZIP) gives you a QR badge for every attendee on the list. A Survtapp badge contains nothing but a long random code — no name, no email, no company — so photographing a badge reveals nothing. The code is turned into a person by our servers, against your attendee list, when the lead syncs.
Inviting exhibitors
Use the Exhibitors tab. Download sample CSV shows the format, which is two columns: email, and an optional booth. Each exhibitor is invited as an Agent on your account; when they accept, their booth mode activates in the mobile app and they can start scanning.
- One header row, then one exhibitor per row.
- email is required — it is the address the booth invitation is sent to.
- booth is optional; leave it blank if it is not assigned yet.
- Wrap any value containing a comma in double quotes, for example "Booth 214, Hall B".
- Emails must be unique within the file; anyone already on the event is skipped.
Watching the leads come in
The Leads tab on the event shows what has been captured. Exhibitors see the contact details only of the people they personally scanned — scanning is what grants them access — so they never receive a copy of your attendee list and cannot look up anyone who did not visit their booth.
Captured leads draw on the same response credits as your forms. Scanning the same person twice at the same booth updates the existing lead rather than creating a second one, and does not spend a second credit.
For exactly what happens to a scan taken with no signal, and why a mis-scan is discarded while a genuine badge never is, see Badge Scanning: What Happens to Every Scan.